Deleting Custom Fields in WordPress

While working on a project you may have had custom fields that are left behind and that are no longer in use for the current theme these unused custom fields remain in your database. I came across this exact scenario when I was upgrading a section of a website that was outdated and needed to be re-done. The previous programmer had use a plethora of custom fields and my goal was to reduce the amount of custom fields used.

Take a look at the following example. All the custom fields that are not being used


Removing Unused Custom Fields

  1. Log into to phpMyAdmin
  2. Select your database.
  3. If you use a different database prefix than the default “wp_” one, then you’ll need to change that in the example below. Replace “meta_key” with your actual custom field name.
  4. Run the following script. ( The script will run and delete any references to that custom field and the data associated with it )
DELETE FROM wp_postmeta WHERE meta_key = 'meta_key';

Alternatively you can also run an sql script that looks at meta_key and see if there are any empty values

SELECT * FROM wp_postmeta WHERE meta_key = 'meta_key';

In my scenario I needed to look for any custom field containing the words productOption running the sql script returned the following.

SELECT * FROM wp_postmeta WHERE meta_key LIKE '%productOption%';
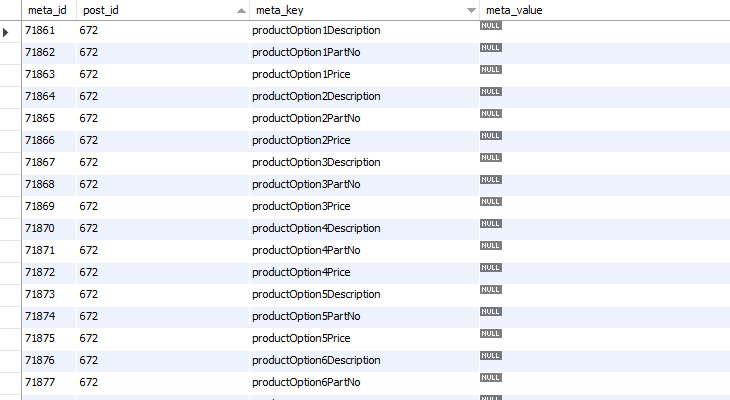
wp-unused-fields-db

Upgrade Wamp Server to PHP 7

We recently upgraded our development and production servers to PHP 7. We develop locally using Wamp Server so we needed to install PHP 7 on our computers as well. After digging around and some trial and errors I found the youtube video below.

Install Microsoft Packages

Download PHP 7

  • Download PHP zip file from http://windows.php.net/download/
  • Choose the correct file 64 or 84 bit Depending on your operating system
  • Choose the Thread Safe file

Create PHP7 Folder in wamp directory

  • Extract contents from PHP7 Download
  • Copy files over to a new folder in wamp\bin\php\php7.0
  • You will need to copy 2 files from an older php version php.ini and wampserver.conf into your new folder wamp\bin\php\php7.0

Modify php.ini

  • In your new folder open php.ini
  • In php.ini find extension_dir and replace the older php version with the new version
  • In php.ini find zend_extension and comment this line out it is no longer needed.
  • Create a copy of php.ini once the above changes are made and rename it to phpForApache.ini

Modify wampserver.conf

  • In your new folder open wampserver.conf and replace LoadModuleName and LoadModuleFile to load the PHP 7 like so

phpConf['apache']['2.4']['LoadModuleName'] = 'php7_module';
$phpConf['apache']['2.4']['LoadModuleFile'] = 'php7apache2_4.dll';
$phpConf['apache']['2.4']['AddModule'] = '';

Start Wamp Load PHP 7

  • Start Wamp > PHP > Version > 7

Notes: PHP 7 needs Apache 2.4 otherwise it will not run. Make Sure Wamp Server is running Apache 2.4. In the video the extensions were changed I tried it and it PHP 7 wouldn’t load in Wamp Server so i kept the same extensions from my previous php.ini file and it worked